
This recipe NEVER fails me. I've used this over and over for a wide variety of meals calling for chicken and it's been the star of the meal every time. Every time I do this, guests are always surprised to know that it was made in the oven!
Best of all, I love this method of preparing chicken because it's super easy, fairly quick, doesn't need supervision and has only 5 essential steps!
I beg you to do this with your chicken. Better yet, your chicken is begging to be cooked this way!
Ingredients:
To make this baked chicken breasts recipe, you will need:
Boneless, skinless chicken breasts - you can use either purchased fresh (my preference) or frozen (thaw fully in advance).
Butter OR olive oil
Salt - An essential ingredient in our brine, and also to season the chicken.
Seasonings - I typically use my usual blend of paprika, garlic powder, onion powder, salt and pepper but feel free to sub in any dry seasoning blend that you prefer.
Instant Read Thermometer - a must-have to distinguish perfectly done protein from under/over cooked protein. This one from Amazon has good reviews, is pretty budget friendly, ships with prime and has a long prong well enough away that you can safely insert into any meat without burning yourself.
Instructions:
1. BRINE
Brining chicken serves two purposes - it brings the chicken to room temperature which allows the protein to be cooked evenly AND it makes your chicken super juicy. Also, it only takes 15 minutes!
Note: IF you bought pre-brined chicken breasts - skip this step!
Fill a bowl large enough for the breasts with lukewarm water and dissolve about 2 tablespoons of salt in it. Add the chicken breasts into the bowl and let them sit in the brine for a minimum of 15 minutes (this will suffice) or refrigerated for up to 4 hours. The chicken will absorb as much water as it can and the salt will lock in the juices.
Once done brining, remove the breasts, rinse them under cold water and pat dry with paper towel.

2. OIL IT UP
Place the breasts in a large baking dish or roasting pan and brush them liberally with either melted butter or olive oil. This will prevent the chicken from sticking to the sides of the pan, help seasonings stick to the chicken, and create a nice golden crust while baking.
3. SEASON
With salt and pepper minimally however you can use whichever seasonings work best with what the recipe you're making calls for. In any case if you're just looking for a simple seasoning method, try how I make mine: freshly ground pepper, salt, smoked paprika, garlic powder and a sprinkle of onion powder.
If you're a frequent seasoner, you can always try Italian Seasoning, Cajun style seasoning, taco seasoning (if you're feeling fiesta-ive), curry seasoning (for Indian dishes), or anything in between! Refer to your own experiences, tastes and recipes for the flavor profile you'd like to achieve - the possibilities are endless!

4. ROAST
Your chicken breasts may differ in thickness however roasting the chicken should be done at 450°F for approximately 15-18 minutes. Roasting at high heat quickly creates a nice “crust” on the outside of the breasts, which helps to lock in those juices, keeping the inside moist.
This is why I would recommend buying an instant read meat thermometer if you don't already have one in order to tell if it's ready (FIY: safe cooked chicken temp is 165°F), versus cutting into it with a fork, which lets the high heat in and the juices out, drying the chicken.

5. REST
Let the chicken do its thing - rest a little after the hot oven! This locks in the juices and instead of seeping free, set into the fibers of the chicken creating tenderness. By cutting it straight out of the oven, you will lose juiciness and tenderness - not what we're trying to achieve.
You can tent some aluminum foil over the pan for 5-10 minutes while it rests. After this, your chicken breasts are perfectly cooked and ready to be served.
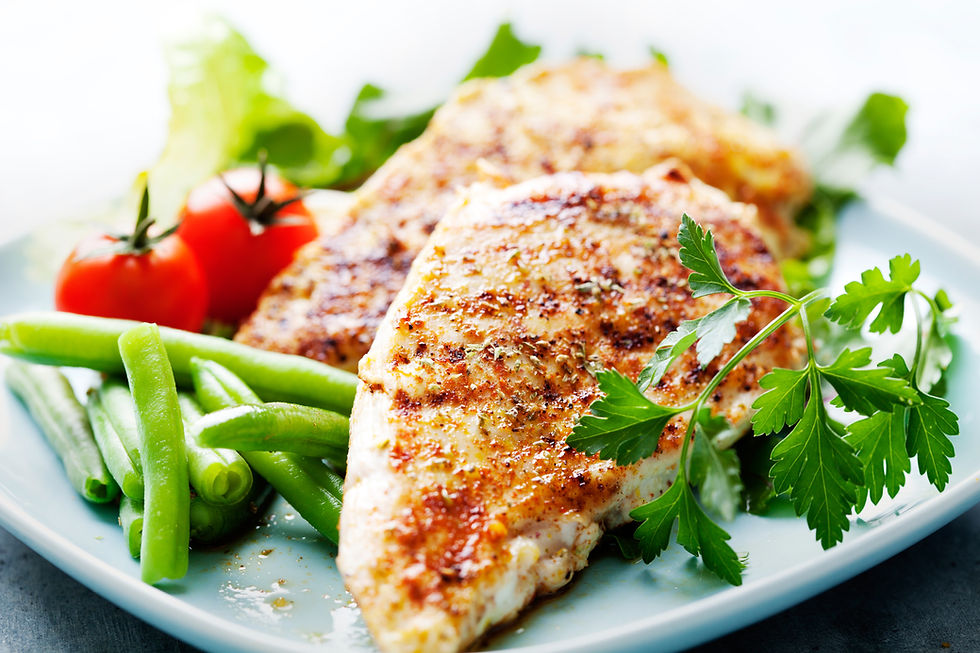
Finally you can enjoy the perfectly succulent and juicy chicken breast. I guarantee you won't want to make it another way for quite a while!
Storage: Once the chicken has been baked, it can be stored in a sealed container in the refrigerator for up to 3 days. Or you can freeze it for up to 3 months - make sure to shred or slice up the chicken into portions before you do so it's easier to measure out for future recipes!
Some uses for the chicken breast of the top of my head (recipes coming soon) can include:
- BBQ pulled chicken sandwiches
- chicken ceasar salad
- chicken tacos or burritos
- casseroles including chicken
- chicken pasta
- chicken noodle vegetable soup
- and many more!
If you liked this method, have questions or comments on how it turned out, let me know in the comments below. Also subscribe to receive more posts like this!
Cheers and Bon Appetit!
Linda Kamaev
PS: This is NOT a sponsored post, I will not receive commissions or referral bonuses if you choose to purchase the items!
Comments